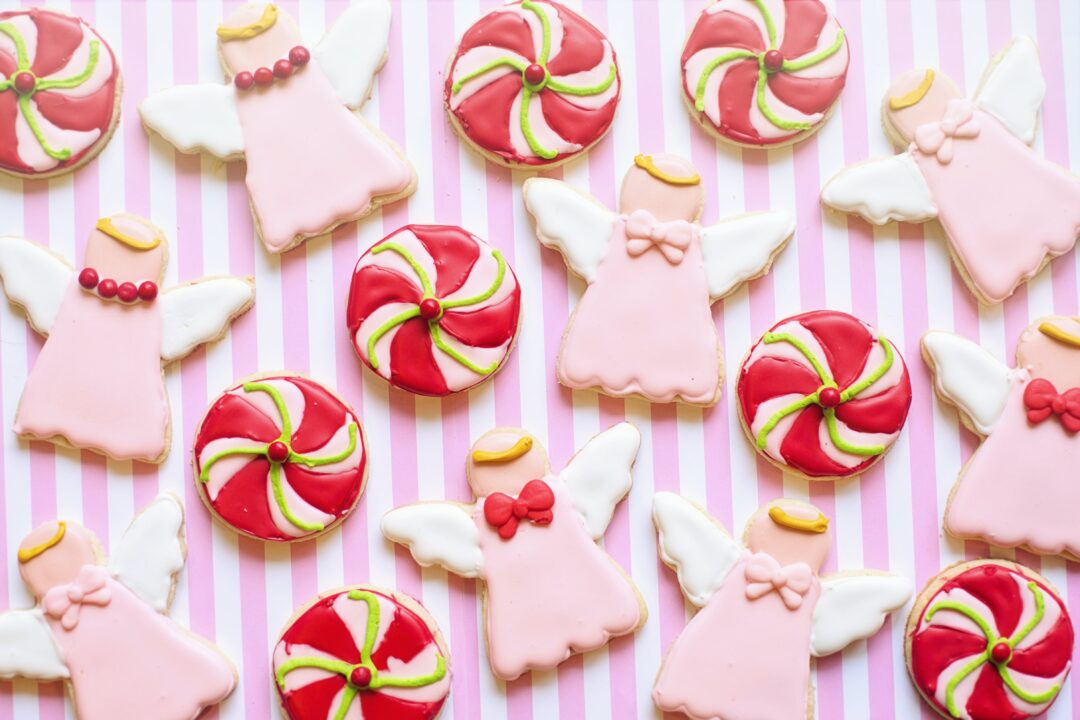
We have the ultimate holiday treat for you…our no-fail, no fuss, perfect every time, impress all your guests, sugar cookies. Did we mention they are insanely delicious too? Get ready to feel like a Star Baker because we’re breaking down every single detail on how to make them, plus crucial tips and tricks, and how to run a hilarious cookie decorating competition that’s great for any group. ‘Tis the season for scrumptious treats, happy baking.

The Recipe
We’ve unlocked our secret to The Ultimate Sugar Cookie Recipe. These will rival any fancy sugar cookies you can buy. Their super power? They hold their shape flawlessly while baking, even when cut with intricate cookie cutters. This makes them a go-to recipe you’ll reach for season after season, year after year. Be sure to follow the tips and tricks provided below, they will save you a lot of time and result in much better cookies.
Total Time 2.5 Hours Cook Time 8-10 minutes Yield 3-4 dozen cookies (depending on size)
Ingredients
- 6 cups all purpose flour
- 3 tsp baking powder
- 2 cups unsalted butter at room temperature (4 sticks)
- 2 cups granulated sugar
- 2 whole eggs
- 2 tsp vanilla extract
- 1 tsp salt
Directions
- Cream the butter with a mixer for 2 minutes on medium speed until smooth and fluffy.
- Add the sugar to the butter, then mix again on medium speed for 2 minutes.
- Add the eggs and vanilla to the butter mixture. Mix on medium speed for 1 minute.
- In a separate bowl, combine the flour, baking powder, and salt.
- Slowly add the flour mix into the butter mixture, mixing on low speed until just combined into a loose, rough ball. Note: your dough should be very crumbly, but stick together when pinched between your fingers. Use your hands to bring the dough together tightly.
- Cut out 4 pieces of parchment paper, the length of a cutting board. Divide the dough in two, and roll each to a ⅓’’ thickness between parchment paper.
- Place the rolled dough, still between pieces of parchment, on two metal baking sheets. Put the trays in the fridge for 90 minutes or until the dough is hard and solid.
- While the dough is chilling, preheat your oven to 350 degrees. Allow the oven to preheat for 1 hour.
- When chilled, cut the dough with cookie cutters and quickly place on un-greased baking sheets. Be sure to only cut out one batch at a time, and chill your remaining dough between batches (see tips and tricks)
- Cook on the center rack in the oven, one batch at a time, for 8-10 minutes until just cooked. You want to take them out of the oven before they start turning golden. This will ensure a super soft cookie.
- Carefully transfer your cookies to a wire cooling rack and allow to completely cool before decorating.
Our Tips and Tricks
Hot oven, cold dough. The best ways to ensure your sugar cookies turn out perfectly are an oven that’s been preheated for an hour and dough that’s been chilled solid in the refrigerator. Chilling can traditionally be time consuming, but we have a trick to cut the time down to just 90 minutes.
1. Use parchment paper to roll out dough
Sandwich dough between parchment paper to prevent sticking while rolling instead of using flour or grease. Extra ingredients like these can affect the dough and can alter their look out of the oven. 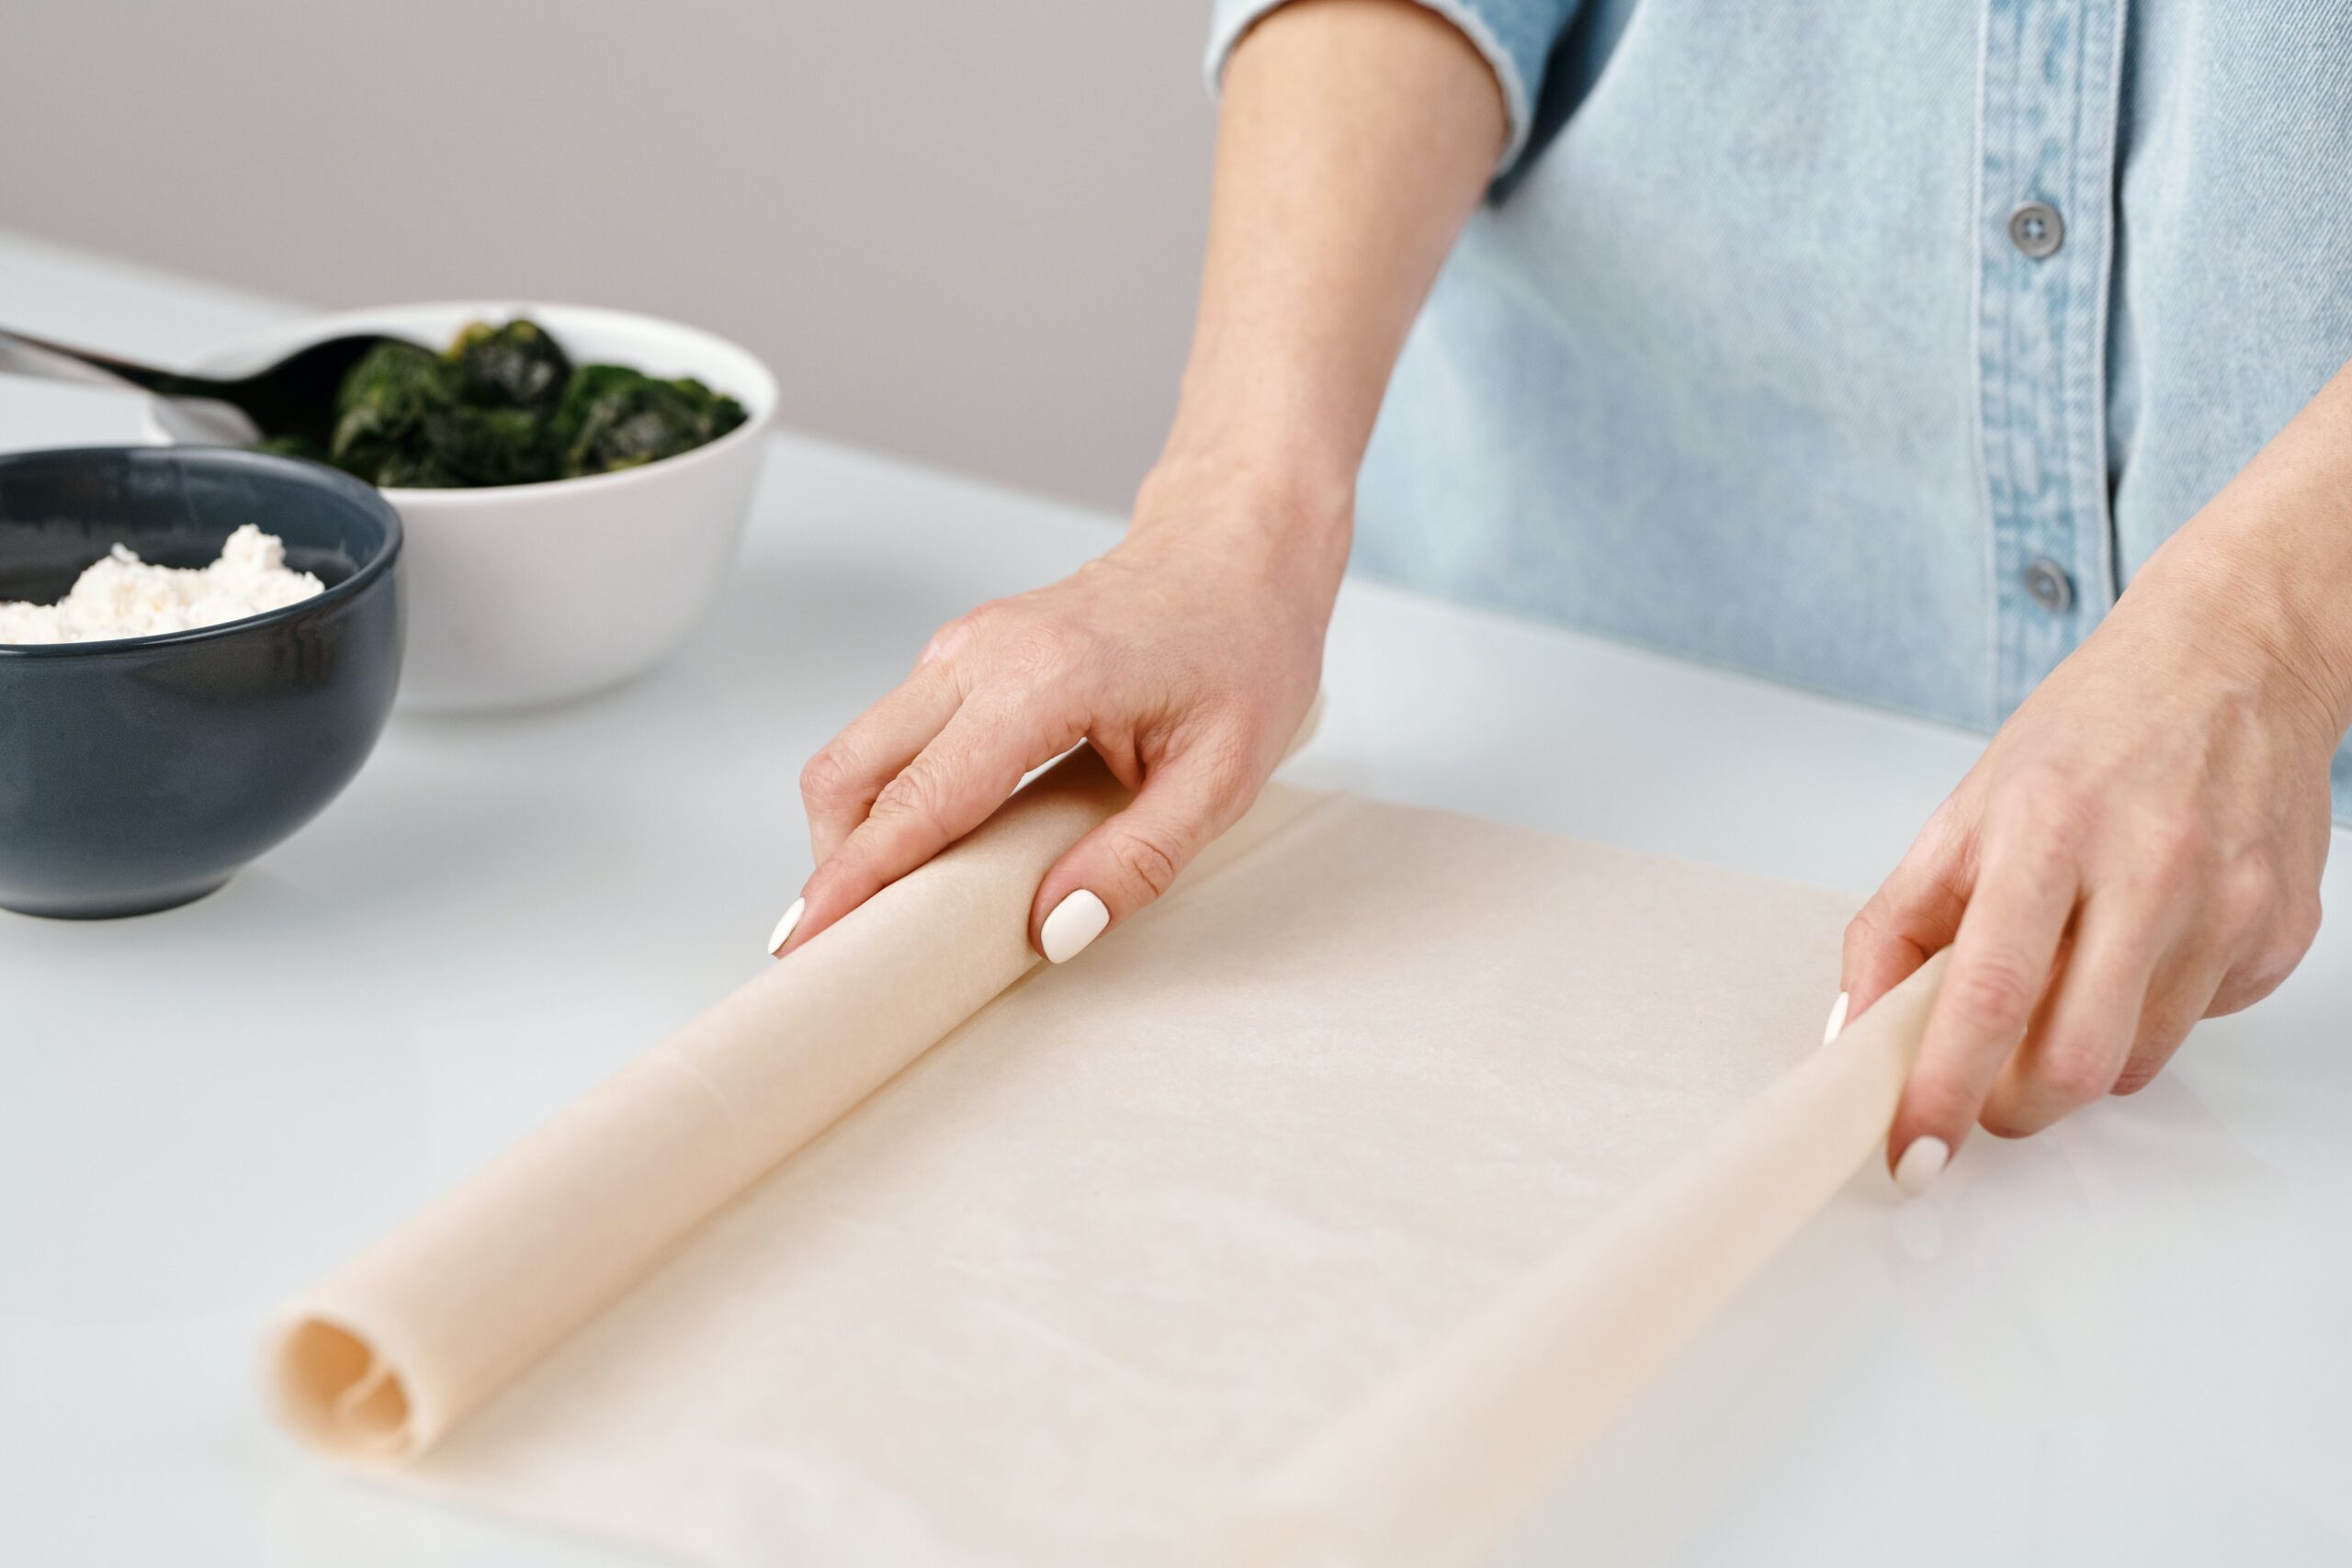
2. Roll out the dough before you chill it
It’s much easier to roll out soft, room temperature dough than it is to roll out a chilled butter ball. 
3. Work quickly when cutting cookies
You want your cookies to be as cold as possible when they go into the oven. This will ensure they bake perfectly, retaining even the smallest of details and sharpest definition. Refrain from taking your dough out of the fridge, cutting your cookies, or placing them on a cookie sheet unless you’re ready to immediately bake them. Try to have the dough from the fridge to the oven within 5 minutes. 
4. Chill your dough between batches
After you’ve cut as many shapes as possible out of your cookie dough slab, you’ll be left with the scraps. Gather all the scrap dough into a ball, place again between the parchment paper, roll, and chill (this time in the freezer, for about 20 minutes while your first bake is baking.) And voila! You have perfectly chilled dough for your second batch. Repeat as many times as needed until you use all of the dough. 
Holiday Sugar Cookie Decorating Competition
Decorating sugar cookies is a fun and easy activity that any group will enjoy. Try this with your coworkers for a unique and engaging holiday party, at home with your family and kids, or with a group of your besties. Have fun coming up with your own competition categories such as “best use of color” or “most festive.” If you want to spice things up, try adding funny categories such as “A for Effort” or “Dentist’s Nightmare.” 
Cookie decorating materials
- No-Fail Sugar Cookies (recipe below!)
- Icing or frosting in multiple different colors, each in a small bowl
- Plastic utensils for each guest to use for decorating
- Large paper plates or disposable platters
- Assorted sprinkles
- Disposable tablecloths
- Wire cooling racks
- To-go containers
For a mess-free decorating gathering, spread a disposable tablecloth out on a kitchen counter or table. Create a place setting for each competitor with a plate for decorating and plastic utensils. Place your unfrosted cookies on wire racks down the center of the table for guests to choose from, along with several bowls of colorful icing and decorations. After each cookie is decorated, guests can place the frosted cookie back on the wire rack to dry.
Pro Tip: Provide everyone with a to-go container to take their cookies home! 
Plan to award winners and make the competition as formal or as casual as you’d like. For a more official approach, label several jars with some categories(we’ve got a list below for some ideas). Have competitors cast their votes by writing names on a piece of paper and placing them into the bowls. Then, read the votes for each category and award your winners! For a more interactive approach (great for kids), discuss each category out loud and choose your winners as a group. Expect a lot of laughter and silly debating as winners are chosen!
Cookie Competition Categories
- Most Festive: For the cookie that best captures the holiday spirit.
- Best Use of Color: Recognizing creativity and skill in color selection.
- Most Original Design: Awarding uniqueness and innovation in cookie decoration.
- Most Intricate Detail: Celebrating the cookie with the finest and most detailed decorations.
- Best Team Collaboration: For cookies created through a collaborative effort.
- Funniest Cookie: Awarding humor and cleverness in cookie design.
- Best Storytelling Through Cookies: Recognizing cookies that tell a story or convey a message.
- Best Character Depiction: For the cookie that best represents a holiday character or figure.
- Most Delicious Looking: For the cookie that makes everyone want to take a bite.
- Least Appetizing: Playfully acknowledging the cookie that might not look as tasty as the others.
- People’s Choice Award: Allowing participants to vote for their favorite cookie overall.
- The “Santa’s Midnight Snack” Award: Awarded to the cookie that looks like Santa might sneak a bite when everyone’s asleep.
- The “Oops, I Dropped It, but It Still Looks Good” Award: For the cookie that survived a not-so-graceful landing.
- The “I Tried My Best” Consolation Prize: Because not every cookie can be a masterpiece.
- The “Pardon My Dust” Award: Celebrating the messiest cookie in the competition.
- The “Dentist’s Nightmare” Award: Awarding the cookie with an impressive amount of sugary decorations.
- The “Too Pretty to Eat… Almost” Award: For the cookie that looks almost too good to devour.
Now that you’re on a cookie baking spree, checkout these other recipes to impress the holiday table.